Note: This article has been updated to reflect the changes for Windows 10 Anniversary Update and above.
Enable Windows 10 Desktop Peek
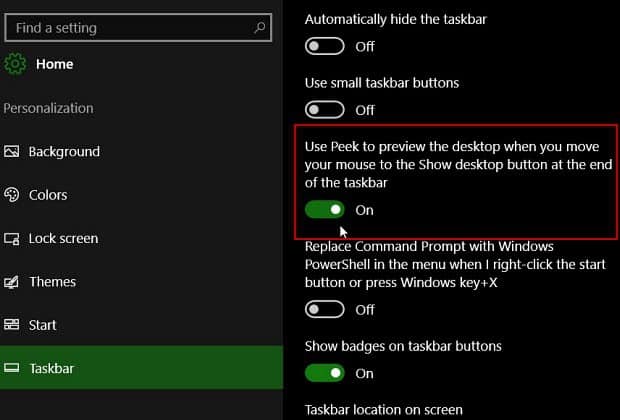
First, right-click the taskbar and select Settings.
Then select Taskbar from the list on the left. Now, on the right, toggle the Peek option to the On position.
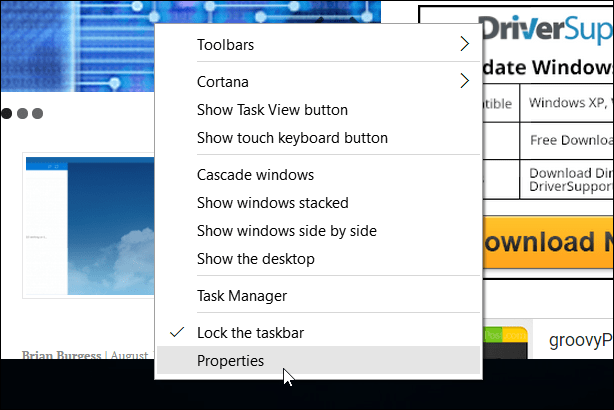
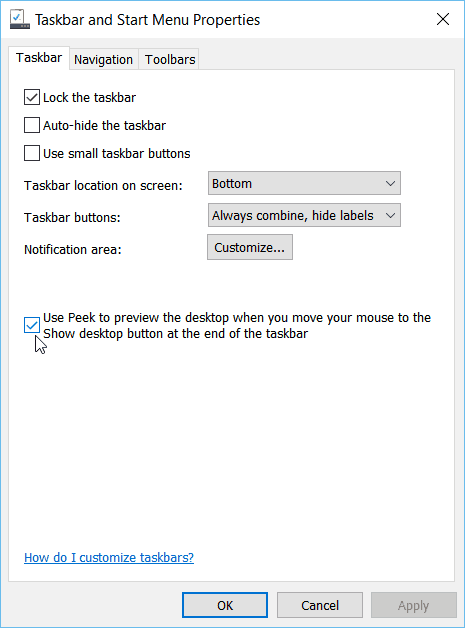
If you’re still on Version 10586 (Legacy Version), you can use the following steps: To turn it back on, right-click an empty area of the taskbar and select Properties.
Then under the Taskbar tab, check the box Use Peek to preview the desktop when you move your mouse to the Show desktop button at the end of the taskbar and click OK.
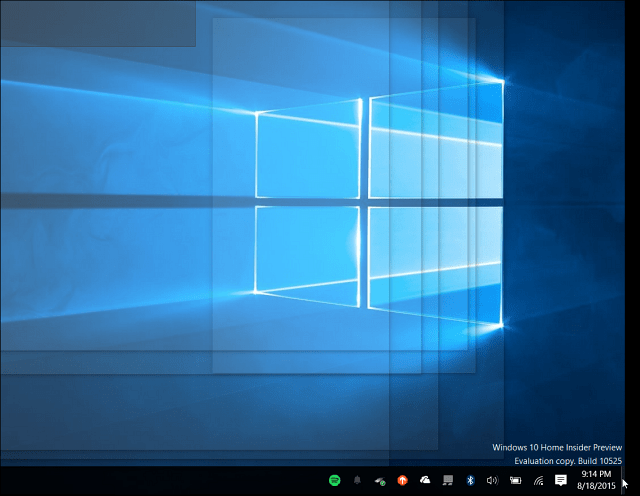
That’s all there is to it! Now hover your mouse over the Show desktop button at the end of the taskbar. You’ll see transparent outlines of the windows you have open, which allows you to see the desktop. If you came from Windows 7 to Windows 10 and wondered why Desktop Peek didn’t work, using quick tip brings the feature back.
The Desktop Peek feature is great when you need to see what’s happening on your desktop when you have a million things open during a busy day. It is disabled by default, but turning it on is as simple as flipping a switch in Settings. You just need to know where to look. This worked! I always tended to remove everything from ‘Performance tab’ so Windows can be super fast (just leave checked ‘animated controls’, ‘animation taskbar’, ‘slide open’, ‘smooth edges’, ‘smooth-scroll’). Never realized the ‘enable peek’, never used before either. Now that I have been using PNotes it is much appreaciate it to just peak at desktop to see some notes (PNotes have a special tweak for that). Thank you very much, Danial! Comment Name * Email *
Δ Save my name and email and send me emails as new comments are made to this post.
![]()
