Change the Default Font in Word 2010
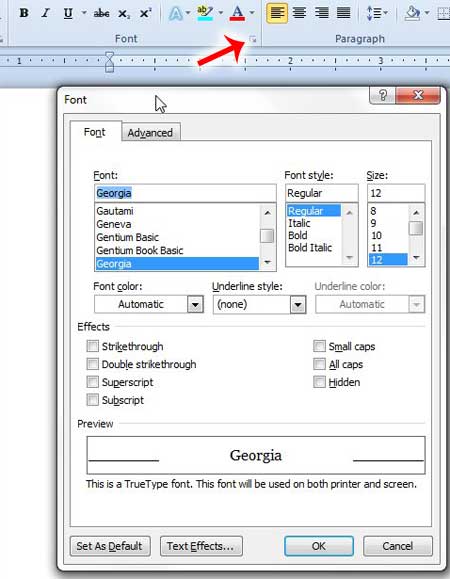
The steps in the tutorial below are going to change the default font for every future document that you create in Word 2010. Old documents that you previously created, or which were created by someone else, will use still use the font with which they were created. With that in mind, follow the steps below to set up your default Word 2010 font. Step 1: Open Microsoft Word 2010. Step 2: Press the Ctrl + D keys on your keyboard. This is going to open a new Font window. You can also access this window by clicking the tiny Font button at the bottom-right corner of the Font section of the ribbon at the top of the window.
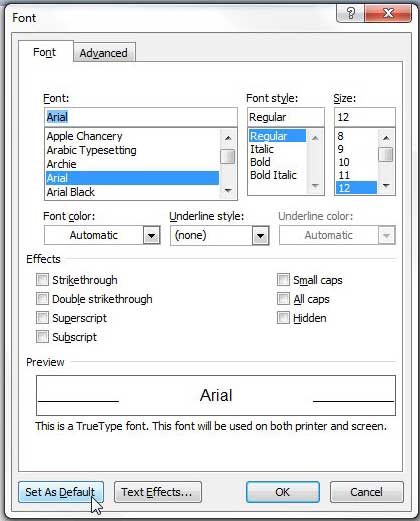
Step 3: Select the font settings that you want to use by default for all future documents that you create in Word, then click the Set as Default button at the bottom-left corner of the window.
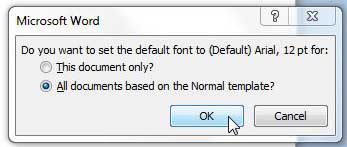
Step 4: Check the circle to the left of All documents based on the Normal template, then click the OK button.
If you close an re-open Word, you will see that the font you just selected is now the default font. You can also return to the Font menu at any time if you need to make additional changes to your default font. Do you need to set a different value for your line spacing as well? Read this article to learn how to set default line spacing in Word 2010. After receiving his Bachelor’s and Master’s degrees in Computer Science he spent several years working in IT management for small businesses. However, he now works full time writing content online and creating websites. His main writing topics include iPhones, Microsoft Office, Google Apps, Android, and Photoshop, but he has also written about many other tech topics as well. Read his full bio here.