But if the data changes, or if it is moved around, the cells might no longer require your attention. However, if they are still highlighted, it could be problematic for your readers. Fortunately the process of removing cell shading is similar to the process of adding it, so continue with our tutorial below to see how you can remove cell shading in Google Sheets.
How to Clear Fill Color in Google Sheets
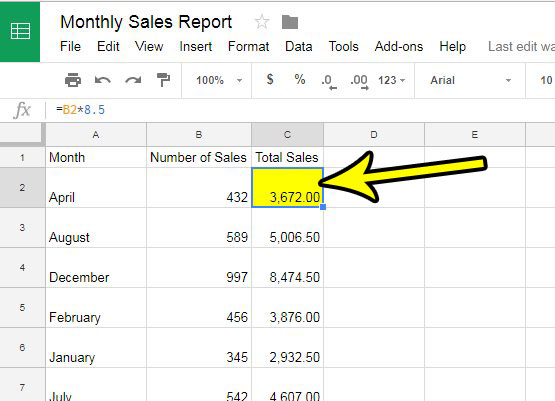
The steps in this article assume that you have an existing spreadsheet in Google Sheets that contains fill color in some of your cells, and that you would like to remove that fill color. While this guide will focus primarily on removing any fill color, the same steps can also be used it you wish to change to a different fill color. Step 1: Go to your Google Drive at https://drive.google.com/drive/my-drive and open the spreadsheet containing the fill color that you would like to remove. Step 2: Use your mouse to select the cells with the fill color. Note that you can select an entire row by clicking the row number at the left of the spreadsheet, you can select an entire column by clicking the column letter, or you can select the entire sheet by clicking inside one of the cells in the sheet, then pressing Ctrl + A on your keyboard.
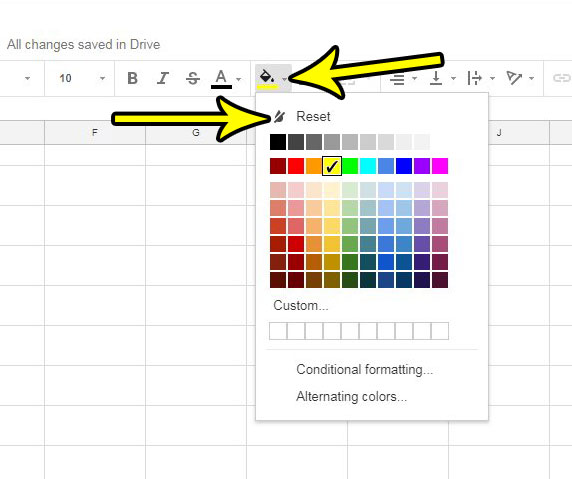
Step 3: Click the Fill color button in the toolbar above the spreadsheet, then click either the Reset button or one of the white squares.
Do you want to keep the top row of your spreadsheet visible so that it’s easier to identify your rows? Find how to freeze the top row in Google Sheets and see if it helps your productivity with your spreadsheets. He specializes in writing content about iPhones, Android devices, Microsoft Office, and many other popular applications and devices. Read his full bio here.