Step One
Create a new blank message in Thunderbird by clicking Write. We’re not actually sending an email here; we’re just using this message as a workspace.
Step Two
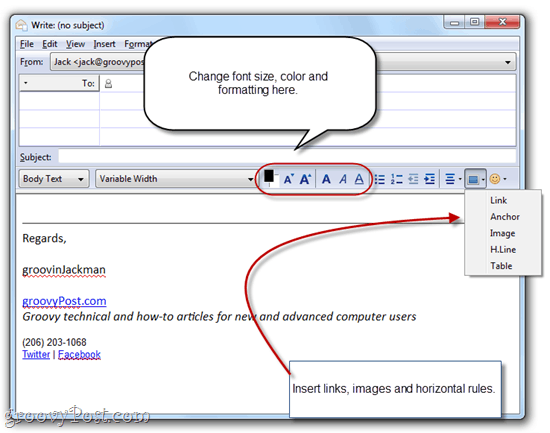
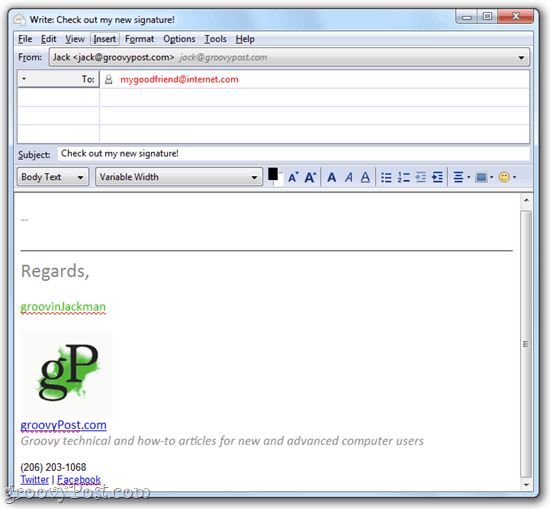
Type out your signature and format it using the formatting toolbar in the composition window. Make everything just like you want it to look in your signature.
Step Three
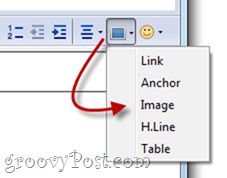
Personally, I like to include an image in my signature. If you’re pretty enough, you could even include a headshot, but lookin’ good isn’t really my department, so I’m going to use a logo. There are two ways to do this: attach it or embed an image on a web server. If you attach it, then every single email you send out will have your signature image attached. This’ll add a few KBs to your file size, which may or may not be an issue for you. But the real drawback is that your recipients will never know if you actually sent them an attachment other than your signature image. I don’t really like that, so I usually opt for the remotely hosted image. The drawback of that is that, by default, most web clients block remote images. But once you start emailing someone regularly, they can start accepting remote images, so really, that’s only an issue for your first message. Anyway, to insert an image, click the Insert button in the formatting toolbar and click Image.
If you’re attaching your image, you can browse for it by clicking Choose File… If you’re using a remote image, copy and paste the location into the Image Location field. You can also add alt text and tooltip text if you’d like, or you can select Don’t use alternate text to forgo this.
Step Four
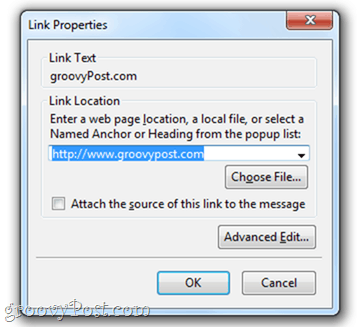
You’ll also probably want to include a link. To create a hyperlink, highlight the text you want to use as your anchor text, click the Insert button, and choose Link.
Type in the destination URL and click OK. I don’t recommend attaching the source of the link to the message.
Step Five
Once you have your signature just the way you like it, click Edit and choose Select All (or press CTRL-A on your keyboard). This will select all the text.
Step Six
Click the Insert menu and click HTML.
Step Seven
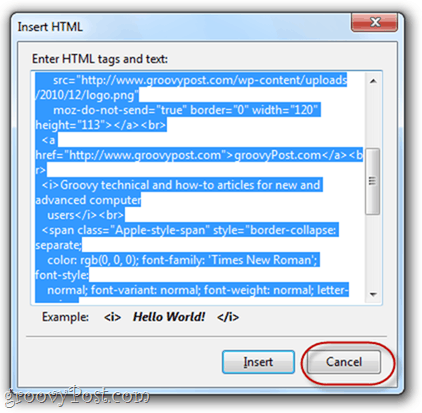
This will show a dialogue box with the raw HTML code for the signature you just created. Press CTRL-A and then CTRL-C to copy the raw HTML code to your clipboard. Click Cancel.
Step Eight
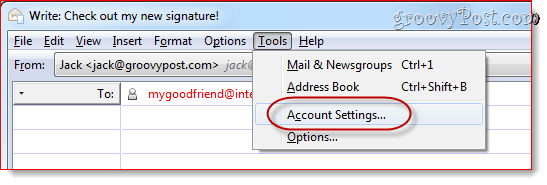
Click Tools and choose Account Settings.
Step Nine
In the box below Signature text, paste your HTML code. Make sure Use HTML is checked and click OK.
Now, when you compose a new message, your custom HTML signature will already be inserted.
Remember that if you’re embedding an image from a remote site, the recipient may have to enable images from your email address before they can see your logo.
That’s certainly not the only way to get a rich text HTML signature into Thunderbird, but in my opinion, it’s the easiest, especially for those who feel daunted by raw HTML code. With this method, you can create your signature in a WYSIWYG (what you see is what you get) and save it for future use. that was so clear and helpful amazing …now if I can just figure out how to control how it looks to my client, since it appears in a different font on her computer than it does on mine, in Thunderbird as well as in Mac Mail…. Any and all suggestions are welcome! brilliant. simple. nice one. Peter Geeta “Attach the signature from file…” and “Attach my vCard….” are unchecked and “Signature Text : use HTML…” is checked. Hope this help. :) simply Follow This Steps
- Search Facebook and Twitter Button — Make Sure to Pick Good Quality Image from google search
- then go to – link — Link Your Profile Website Address — Then — Set the Image Size To 31*28 Size
- Click Edit — Select All — Copy — Click on insert –Html — Copy Html Code —
- Then Follow step 8 and Step 9 Thanks Plus of having it on file is that if you want to set mail accounts anew, it’s easier to point to a proper file and you can edit or view it on another program if needed. Comment Name * Email *
Δ Save my name and email and send me emails as new comments are made to this post.


![]()
