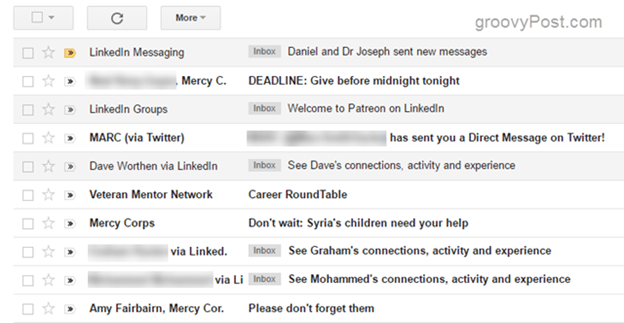
In this article, I will show you how to use filters. It’s easier than you think and a compelling way to clean up your inbox!
Automatically Categorize, Label, or Archive Emails using Gmail Filters
Step 1 – Open a type of email you want to filter, say everything from one sender or everything, including certain keywords. Then click on the More drop-down.
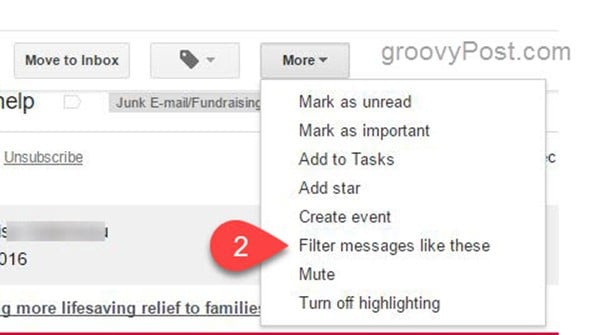
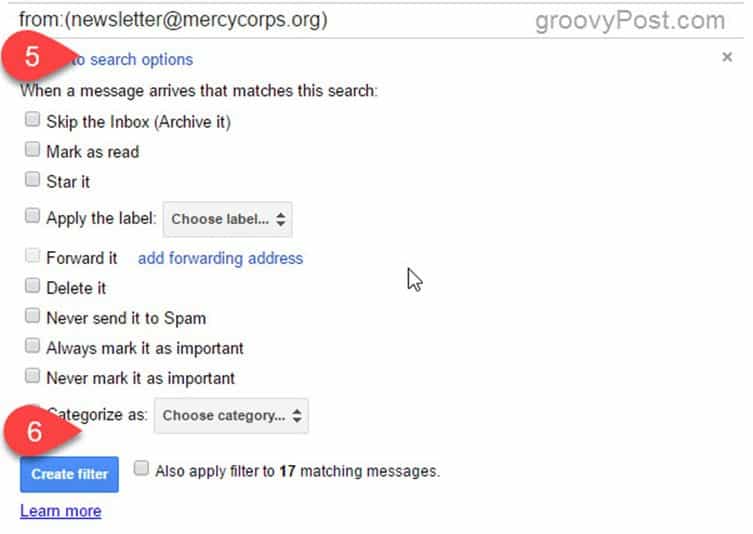
Step 2 – From the drop-down menu, click Filter messages like these. Step 3 – Create a new filter using whatever criteria you wish. Gmail will fill in the first criteria, but you can build on it by adding more search criteria. Click the search button ()to test the filter out. Step 4 – Click Create filter with this search when you’re done. Step 5 – Select the actions you would like to take with the filtered messages. If you want to apply the filter retroactively, check “Also apply the filter to x matching messages.” This will instantly clean up, organize, or mark your old emails, so they are consistent with the new filtering rule.
Step 6 – When you’re done, click Create Filter. You can also apply labels and decide which messages you would like to mark as important, which can really help keep the important messages near the top of your Gmail inbox. We will dig into more of that in future articles but, if you have a question about it, feel free to drop me a note in the comments. And that’s how filters work. Now that your filter has been created, all new incoming messages will be dispersed in whatever way you choose. My advice is to go create a few test filters and play around with the feature. Don’t worry about messing up your inbox. You can always delete or edit the filters if you want to change things around later. What I want can be easily explained: I want only messages from people in my contact list to go into my inbox; I want all other messages to go into my spam folder. Surely someone has written an extension to do this? Comment Name * Email *
Δ Save my name and email and send me emails as new comments are made to this post.
![]()


